Are you longing for luscious, voluminous hair that turns heads wherever you go? Sew in hair extensions can be a game-changer, transforming your natural hair into a flowing masterpiece. Among the various methods available, sewing in hair extensions is a popular and reliable technique. In this comprehensive guide, we will delve into the step-by-step process of sewing in hair extensions, ensuring you achieve a natural and secure look that lasts. So, grab your needle and thread, and let's embark on this exciting journey to gorgeous hair!
Before immersing ourselves in the extension attachment process, it's crucial to start with clean, tangle-free hair. Begin by thoroughly washing your hair with a gentle shampoo and conditioning it to ensure it's in optimal condition for the extensions. This step removes any product buildup, excess oils, and impurities that may hinder the bonding process. Once clean, carefully comb through your hair, using a wide-toothed comb, to eliminate any knots or tangles, leaving your hair smooth and ready for the next steps.

Create a solid foundation To ensure a seamless blend and a secure attachment of your hair extensions, creating a foundation is essential. Begin by parting your hair horizontally from ear to ear, creating a neat section at the nape of your neck. Gently clip the remaining hair out of the way using hair clips. If you prefer added protection for your natural hair, consider wearing a weaving net or cap. Secure it snugly around your head, just above the ears, as this provides a stable base for sewing in the extensions while safeguarding your hair.
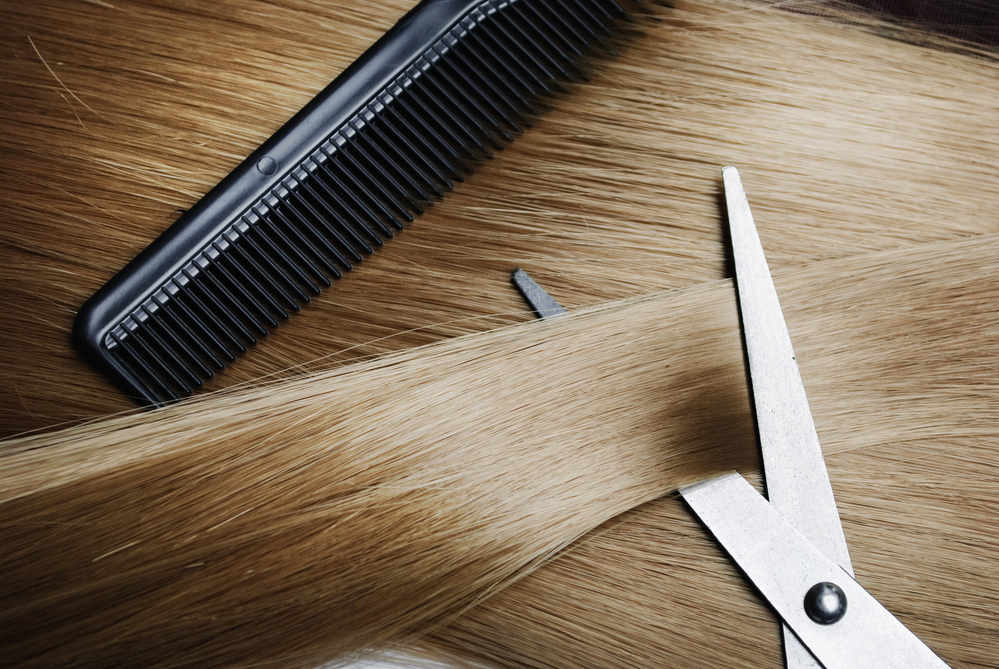
Measure and cut the extensions Customizing your extensions to fit your natural hair perfectly is a crucial step for a flawless end result. Take a weft of hair extension and measure it against the section at the nape of your neck. Carefully trim the weft to match the width of your natural hair section. This precision ensures that your extensions seamlessly blend with your own hair, creating a cohesive and natural look. Repeat this process for each row of extensions you plan to sew in, ensuring you have a precise fit for each section.

Cutting Hair extensions
Sew in the extensions Now that you have your prepared extensions and a solid foundation, it's time to start sewing them in. Here's a detailed breakdown of the process:
a) Take the first weft of hair extension and position it just below the parting, against your natural hair section. Ensure it's properly aligned with your natural hair, lying flat against your scalp.
b) Thread your needle with a thread that matches the color of your natural hair or the extensions. Tie a knot at the end of the thread to prevent it from slipping through the needle while you work.
c) Starting from one end of the weft, insert the needle through the weft and your natural hair section, ensuring it goes under and over the weft and hair. The stitching should be close to the weft, creating a secure hold.
d) Sew a straight line across the weft, moving from one end to the other. Take care to make tight and close stitches, ensuring the weft is firmly attached to your natural hair. The stitches should be evenly spaced and not too tight to avoid discomfort.
e) Once you reach the end of the weft, secure the thread with a knot, ensuring it's tight and secure. Trim off any excess thread using scissors, being careful not to cut into the weft or your natural hair.
f) Repeat this process for each weft, working your way up from the nape of your neck to the top of your head. Take your time, ensuring each weft is sewn in securely and blends seamlessly with your natural hair.
Blend and style Now that your extensions are securely sewn in, it's time to blend them with your natural hair and unleash your creativity with styling. Follow these steps to achieve a flawless blend and a stunning hairstyle:
a) Release the clipped hair and gently comb through it to blend seamlessly with the extensions. This step ensures that the transition between your natural hair and the extensions is seamless and undetectable.
b) Experiment with different hairstyles, from glamorous curls to sleek straight looks. Use heat styling tools such as curling irons, straighteners, or hot rollers to achieve your desired style. Remember to use a heat protectant spray to shield your hair and extensions from damage.
c) Accessorize your new, voluminous hair with hair accessories like headbands, clips, or barrettes to add an extra touch of elegance and individuality to your look.
Sewing in hair extensions is a fantastic way to achieve the glamorous, voluminous hair of your dreams. By following this comprehensive guide, you can confidently sew in your extensions, knowing they will provide a natural look and secure hold. Remember to care for your extensions properly, using recommended products and gentle brushing techniques. If you're unsure or prefer professional assistance, don't hesitate to seek the expertise of a hairstylist or hair extension specialist. With your newly sewn-in extensions, get ready to flaunt your beautiful and enviable hairstyle, turning heads wherever you go!